
A blurry backup camera is usually fixable. Start with the lens. Then check moisture, wiring, and the unit itself. Working through checks in order saves time and money.
Think of it as a quick diagnosis. Sometimes the problem is the camera itself. Other times it’s the wiring, display, or even a simple maintenance issue. At TadiBrothers, we help drivers troubleshoot backup camera issues every day. In many cases, a blurry image turns out to be a simple maintenance issue rather than a failed camera.
Why Backup Cameras Go Blurry
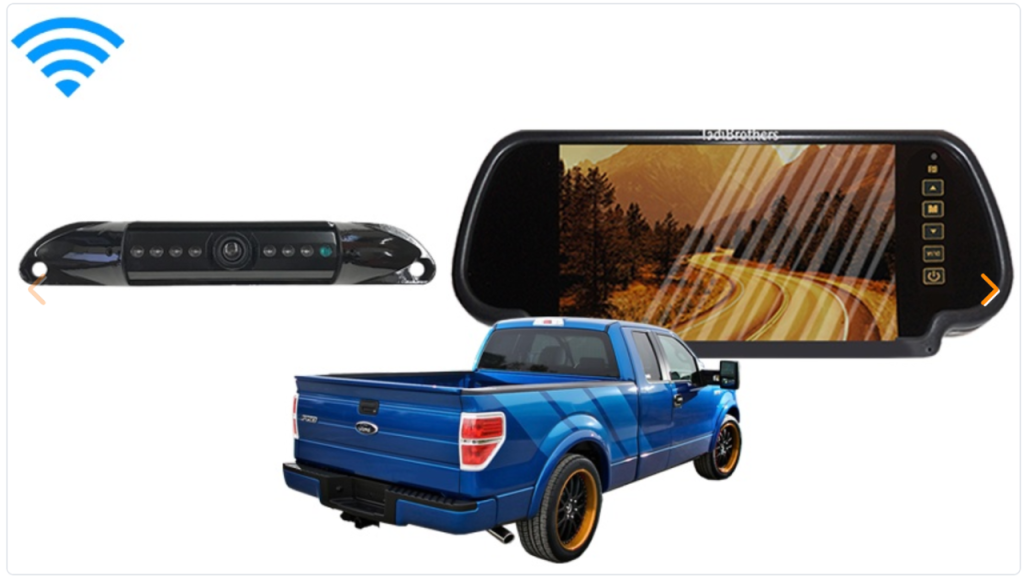
Most blur comes from four things. A dirty lens. Trapped moisture. A loose wire. A worn-out camera.
Knowing the cause matters. Jumping to a replacement can cost more than needed. Cheap checks first usually solve it faster.
1. Clean the lens
Road grime, salt, and dust cloud the image fast. Cleaning the lens fixes many cases on its own.
Use a soft microfiber cloth. Use a cleaner made for glass or optics. Skip paper towels and rough fabric. They can scratch the lens.
Commercial trucks and work vehicles collect dirt, road salt, and dust much faster than passenger vehicles. Check this one often.
2. Check for trapped moisture
If cleaning doesn’t help, look for fog inside the housing. This is a common cause of lingering blur.
Try this test. If the haze sits behind the glass, not on top, moisture is likely inside. Drying the outside won’t help then.
Some cameras clear up in dry weather. Others stay fogged because the seal has already failed. A failed seal brings the fog back again and again. That usually means repair or replacement.
3. Inspect the wiring and connections
A weak connection can blur or flicker the image. Check the cable for loose plugs and corrosion. Look for pinched wires and bent connectors.
Make sure everything is seated tightly. Follow the cable from camera to display. Many “failed camera” complaints turn out to be nothing more than a loose or corroded connector.
4. Test the display and settings
Sometimes the camera is fine and the screen isn’t. Low brightness or bad contrast can fake a blur. So can the wrong input setting.
Check the display menu. Adjust brightness and contrast. Confirm the right input is selected. If possible, connect the camera to another compatible display. That helps determine whether the problem is the camera or the monitor. That tells you where the fault really is.
5. Look for scratches or damage
A scratched lens scatters light. It looks hazy no matter how clean it is. Once the surface is damaged, cleaning won’t help.
Check the lens in bright light. Look for scratches, clouding, or yellowing. This is common on older vehicles. If the damage is bad, replace the camera.
6. Reset or reconnect the system
A power cycle can clear odd glitches. Unplug and reconnect the system. Use a built-in reset if you have one.
This won’t fix everything, but it’s quick and free. Try it if the blur starts after a battery change or repair. It’s especially worth trying if the image comes and goes, which often points to a temporary power or connection issue.
7. Replace the camera if the problem returns
Cleaned the lens? Checked moisture? Inspected wiring? Tested the display? If the blur is still there, the camera is likely failing.
Seals age. Parts wear down. Every unit eventually reaches its limit. At that point, replacement is the cleanest fix.
If replacement is the best option, TadiBrothers offers backup camera systems designed for passenger vehicles, RVs, commercial trucks, and trailers, making it easier to match the camera to your vehicle. Worth a look if you’re tired of chasing the same problem.
The fastest path to a fix
- Clean the lens.
- Check for moisture.
- Inspect the wiring.
- Test the display.
- Look for scratches or damage.
- Reset the system.
- Replace the camera if needed.
Start with the cheapest fix. Move up only when you need to.
When to stop troubleshooting it yourself
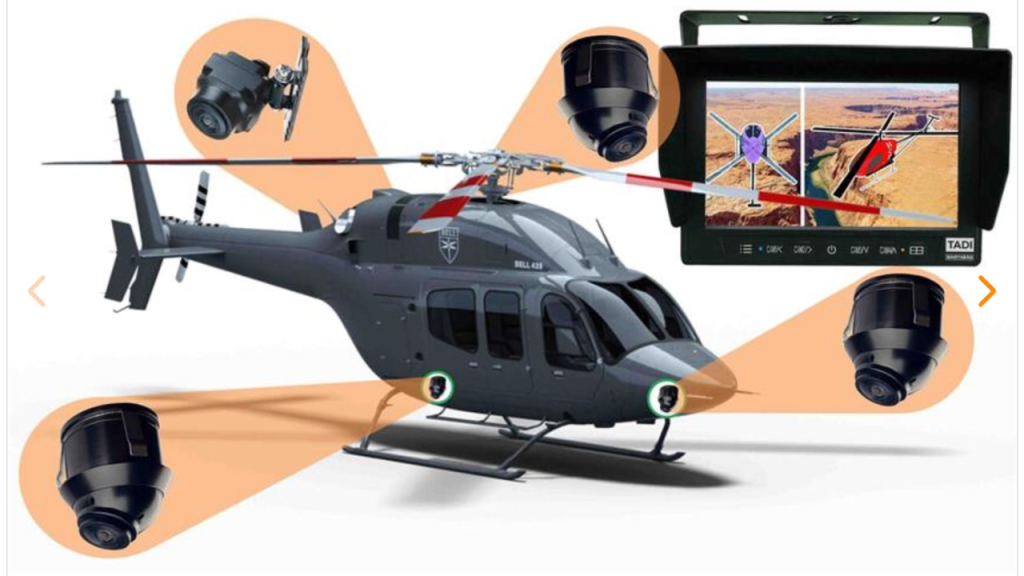
Some signs mean it’s time to stop. A lens that stays cloudy after cleaning. Water that keeps coming back inside. A cracked lens. Wiring you can’t safely reach. A screen that stays blurry even after you’ve ruled out the camera and wiring.
Random fixes past this point usually make things worse. A step-by-step approach keeps small issues small.
Preventing Future Blur
A little maintenance goes a long way:
- Clean the lens regularly.
- Avoid spraying high-pressure water directly at the camera housing.
- Check wiring after off-road driving or harsh winters.
- Replace cracked seals before moisture gets inside.
- Inspect the camera during routine vehicle maintenance.
Final thoughts
A blurry backup camera doesn’t always mean a dead camera. Most fixes are quick and cheap. Just check the likely causes in the right order.
If the blur keeps coming back, though, the camera may be done. If replacement is the right solution, choosing a quality system from the start usually saves more time and frustration than repeatedly replacing low-cost cameras.