
Today’s backup cameras offer you more safety than ever when you’re reversing or even driving. However, at some point, you might want to remove a backup camera from your vehicle for some reason.
Removing a backup camera may seem tricky, but with the right steps, anyone can do it. Whether your system is failing or you’re upgrading to a better model, knowing how to get a backup camera out is key to resolving your car’s tech problems without paying extra.
If you’re experiencing screen glitches, no signal issues, or water inside the camera lens, then you’ll probably need to repair your backup camera or replace it altogether. TadiBrothers offers professional-grade products and helpful resources for your vehicle, be it a car, truck, RV, trailer, or any other.
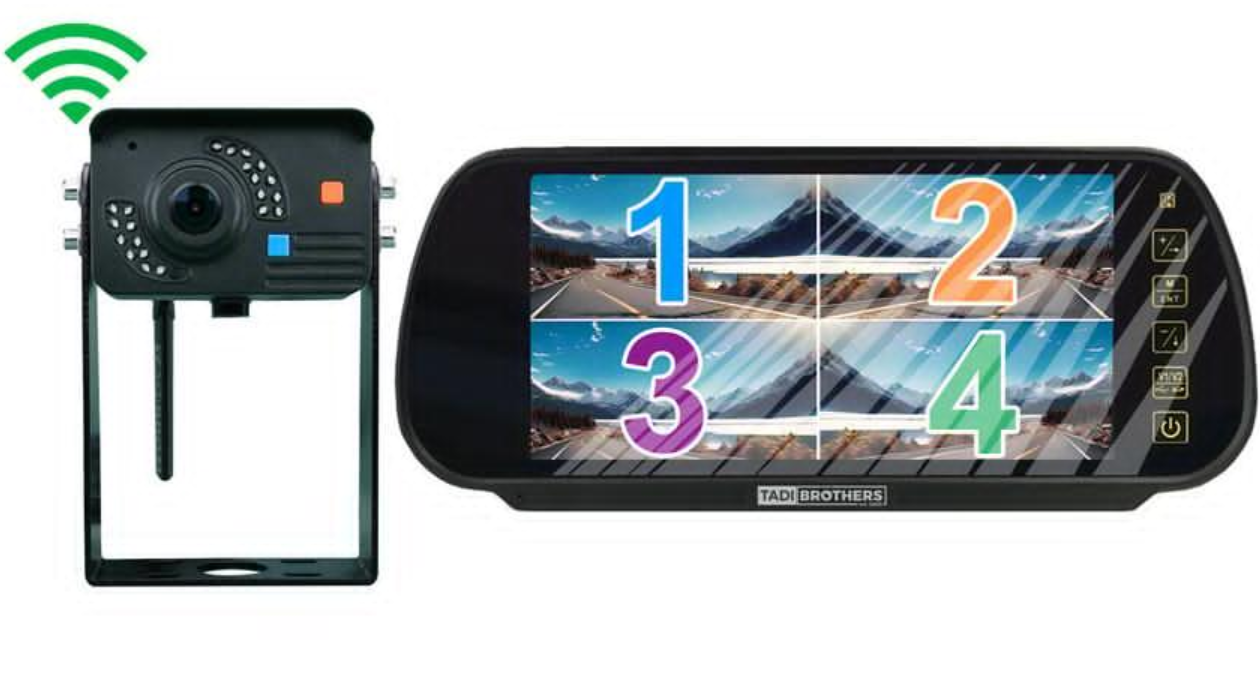
Commercial Grade 1080P Digital Wireless Backup Camera and Mirror with 300ft Range (V3)
Tools You’ll Need
- Trim panel removal tool
- Screwdriver (Phillips head and flat head)
- Heat gun or hair dryer (for adhesive mounts)
- Socket wrench set
- Electrical tape
Step 1: Identify the Camera Type and Mount
Before learning how to get a backup camera out, it’s important to know your camera type. Here are the most common setups:
- Surface mount (on bumper)
- License plate frame mount
- Tailgate handle camera
Each type of mount requires slightly different removal steps. For license plate cameras, you may only need a screwdriver. At the same time, for integrated tailgate models, extra disassembly may be needed.
Step 2: Disconnect the Vehicle Battery
Before working with wires, it’s crucial to disconnect the battery to avoid any electric shorts. This also resets the camera system and prevents system errors.
Step 3: Access the Camera Wiring
Use your trim tool to remove interior trunk or tailgate panels. Be patient with these clips, as they can be fragile. Once exposed, look for the camera’s wiring harness.
You may see a plug connecting the camera to your car’s system. Carefully unplug it. If it’s hardwired, you’ll need to cut and label wires.
Step 4: Remove the Camera Hardware
Use your tools to unscrew or unclip the camera unit. For adhesive cameras, gently heat the surface to soften the adhesive, then pry the camera off slowly.
If you’re upgrading, now is a great time to clean the area and check for rust or scratches.
Step 5: Troubleshooting Tips During Removal
If your reverse camera is not working, look for these signs to find out what’s wrong:
- Corroded connectors
- Frayed or pinched wires
- Moisture inside the lens (a common reason for blurry views)
These issues often cause problems like:
- Backup camera no signal
- Backup camera no picture
- Reverse camera black screen
Tip: If your system was showing water inside, and you’re wondering how to get water out of a backup camera, using a desiccant pack inside the camera housing temporarily solves most moisture issues.
Step 6: Replacing or Upgrading
Now that you know how to get a backup camera out, choosing a better camera system is next. TadiBrothers offers top-rated models like:
- Rear View Backup Cameras: https://www.tadibrothers.com/category/rear-view-backup-cameras
- Digital Wireless Backup Systems: https://www.tadibrothers.com/category/digital-wireless-backup-camera-systems
- Commercial Grade Kits: https://www.tadibrothers.com/category/commercial-vehicle-backup-camera-systems
For help choosing the right system, check out: https://blog.tadibrothers.com/ultimate-vehicle-camera-system-guide
Fixing Related Problems
Removing the camera may not fix everything. If your display still shows a black screen or you need to get backup camera out of backup overlay mode, try these tips:
- Factory reset your infotainment system
- Check settings for overlay mode or camera input
- Inspect the fuse related to the camera system
These tips may help you resolve simple issues.
Recommended Resources
If you’re a visual learner, explore these helpful installation and troubleshooting videos:
- Parking & Monitor Kits: https://www.tadibrothers.com/video/parking-back-up-sensors-camera-monitor-kit-video
- Camera System Overview: https://www.tadibrothers.com/video/front-side-rear-view-cameras-for-backup-camera-systems
Conclusion
Understanding how to get a backup camera out can save you time, money, and further stress. Whether it’s due to water damage, wiring issues, or for an upgrade, careful removal is important.
Using trusted gear from TadiBrothers ensures that your next system is more durable and reliable. Explore the full range of backup systems here. Remember, a better view behind the wheel starts with the right camera system.