
Under 30 minutes. No mechanic. No drilling anything into your car.
That is the realistic version of how to install a dash cam, and the fact that most people think it is harder than that is exactly why so many botched installs end up in forums. The cable dangling loose across the dash. The mount that falls off in August. The fuse tapped wrong so the cam runs all night and kills the battery. None of those are freak accidents. They are just what happens when you skip the parts that feel obvious.
This covers the whole thing. The 6 steps, the 3 ways to power it, what to do if something breaks, and how to install a dash cam front and rear without losing your mind routing cable through the headliner.
What You Actually Need First
Lay it all out before you touch the car. Discovering mid-install that you are missing a $6 trim tool is a genuinely miserable experience.
Here is what a real install needs:
- Dash cam and mount, suction cup or adhesive pad, usually in the box
- Power cable, the USB or 12V adapter, also usually included
- Plastic trim tool, under $10, non-negotiable; screwdrivers scratch trim and crack clips
- Microfiber cloth, for the windshield before mounting
- Cable clips, the small adhesive-backed ones; they cost almost nothing and make the whole thing look professional
- MicroSD card, this one trips people up. Get a U3 or Class 10 rated card, at least 32GB, 64GB if your cam shoots at higher resolution. A regular SD card from your camera bag will probably work for a week and then start dropping files. SanDisk High Endurance and Samsung PRO Endurance are both made for continuous recording. Get one of those.
If you are hardwiring, add a hardwire kit and a circuit tester. If you are running a rear camera too, add the rear cam, the long connecting cable (usually 15 to 20 feet), and about 40 extra minutes.
And if the idea of touching a fuse box makes you uncomfortable, completely valid, the cigarette lighter plug-in works fine for everyday use. You do not have to hardwire. We will get to all three power options in Step 4.
Is Mounting a Dash Cam on Your Windshield Even Legal?
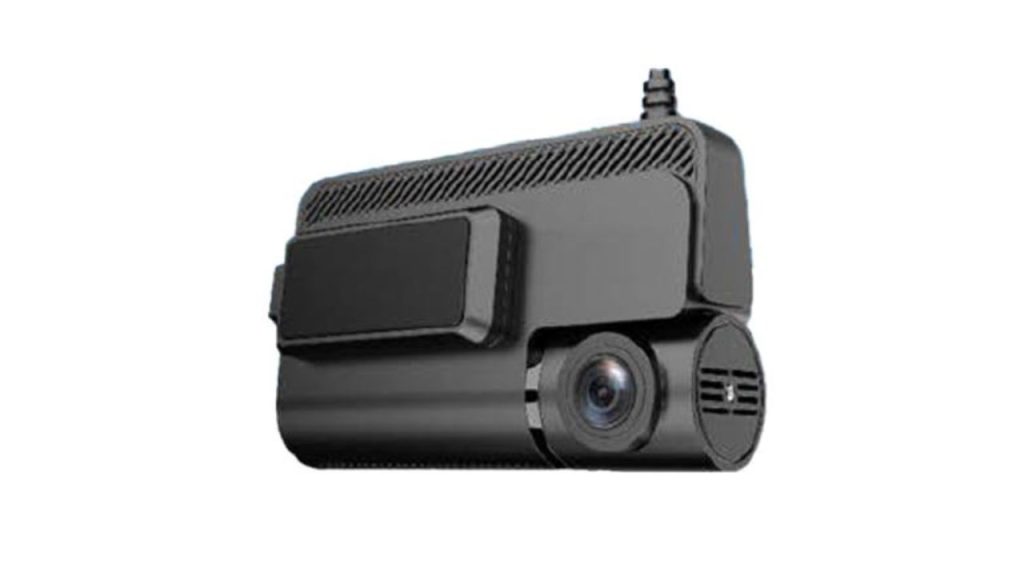
Yes, in all 50 states. But where on the windshield matters.
Most states have the same basic rule: the camera cannot sit in the driver’s direct line of sight. Right behind the rearview mirror, nudged slightly toward the passenger side, is the safe zone everywhere. It keeps the cam hidden behind the mirror from the driver’s perspective, out of the restricted area, and aimed at the best angle for road coverage.
California and New Jersey have stricter rules worth knowing. California limits windshield-mounted devices to a 5-inch square in the lower driver’s corner or a 7-inch square in the lower passenger’s corner. The behind-the-mirror position still works in both states, but if you are somewhere with known restrictions, check your state’s motor vehicle code before sticking anything to the glass.
Behind the mirror, passenger side. That is the answer 99% of the time.
Step 1: Find the Right Spot Before You Commit to Anything
The most expensive mistake in a dash cam install costs nothing. It is just picking a mounting position before checking what the camera actually sees from that spot.
Mount it wrong and you either block your view, capture mostly sky and dashboard, or realize three weeks later that the horizon is tilted in every single clip. That last one is particularly annoying because fixing it means peeling off the mount, cleaning the adhesive residue, and starting over.
Plug the camera in first. Turn it on. Use the live view on the screen or the phone app to check the angle before touching the adhesive. The horizon should sit in the upper third of the frame, more road, less sky. Move the camera around while watching the live view until it looks right. Then mount it.
For rear cameras, center the lens on the rear windshield and stay clear of the defroster lines. Adhesive mounts pressed against the heating elements break down faster than normal heat would cause and can interfere with the defroster itself.
Step 2: Clean the Glass Thoroughly First
A mount that fell off two weeks after install did not fail because of bad adhesive. It failed because of the invisible film of dust, finger oil, and detailing spray residue on the glass. Adhesive needs bare, clean glass. Anything else and the bond is compromised before you even press it down.
Wipe the mounting area with a dry microfiber cloth. Follow that with isopropyl alcohol on a clean cloth, or a pre-made glass wipe if you have one. Let it fully dry before pressing the mount.
If it is winter and your garage is cold, the adhesive will not bond well below about 50°F. Hit the spot with a hairdryer for 30 seconds first. It sounds unnecessary until the mount peels off in March and you realize it never actually bonded properly.
Press the mount and hold it for a solid 60 seconds. Do not immediately slide the camera onto it. Give it a few minutes before you add any weight.
Step 3: Make the Cable Disappear
A cable running loose across the windshield and dashboard is not just ugly. It is a distraction while driving, and it tells everyone walking past your parked car exactly what is inside worth taking.
The goal is simple: no visible cable between the camera and wherever the power comes from.
Start at the camera and tuck the cable up into the gap between the headliner and the windshield frame. The plastic trim tool does this without scratching anything. Then feed the cable down the A-pillar, the column between the windshield and the front door. On most cars, the rubber seal along the A-pillar peels back far enough to tuck a cable behind it without taking any panels off.
Once the cable hits the base of the pillar, pick a path to the power source:
- Toward the center console: run along the bottom edge of the dash. Most cars have a thin trim strip that pops off without tools and hides a cable perfectly behind it.
- Along the door sill: if the console path is awkward in your car, the door sill trim, the plastic strip at the bottom of the door opening, works just as well and is easier to undo later.
Clip the cable down every foot or so with the adhesive cable clips. Anything left unclipped will rattle eventually.
Step 4: Picking How to Power It (Three Ways, Not Just Two)
Most guides only cover two power options. There are actually three, and one of them is faster and easier than the other two combined.
Cigarette lighter plug-in. Plug into the 12V socket, done. The cam turns on with the car and off when you leave. Easy to reverse, easy to move between cars, zero tools. The downsides: you use up the socket, and if you want parking mode, you need a separate battery pack because the lighter socket cuts power when the ignition is off.
Hardwired to the fuse box. This gives you a cleaner install, frees up the socket, and enables parking mode without a battery pack. The cam connects directly to the fuse box using a hardwire kit. The red wire goes to an ACC fuse, one that only has power when the ignition is on, which your circuit tester will identify, the yellow wire to a constant fuse if your cam supports parking mode, and the black ground wire to any bare metal bolt nearby. The circuit tester is about $10 and makes the fuse identification completely clear. If you would rather pay someone, most shops hardwire a cam in 30 minutes and charge $50 to $100.
OBD-II adapter. This is the one almost nobody talks about. Your car’s OBD-II diagnostic port, the small socket under the dashboard, usually left of the steering column, delivers stable 12V power. Plug an OBD-II power adapter into it, connect the cam’s cable, done. No fuse box, no kit, no circuit tester. The downside is that the OBD port is now occupied, and some older cam models are not compatible. For beginners, EV owners, or anyone who does not want to go near a fuse box, this is the fastest clean install available.
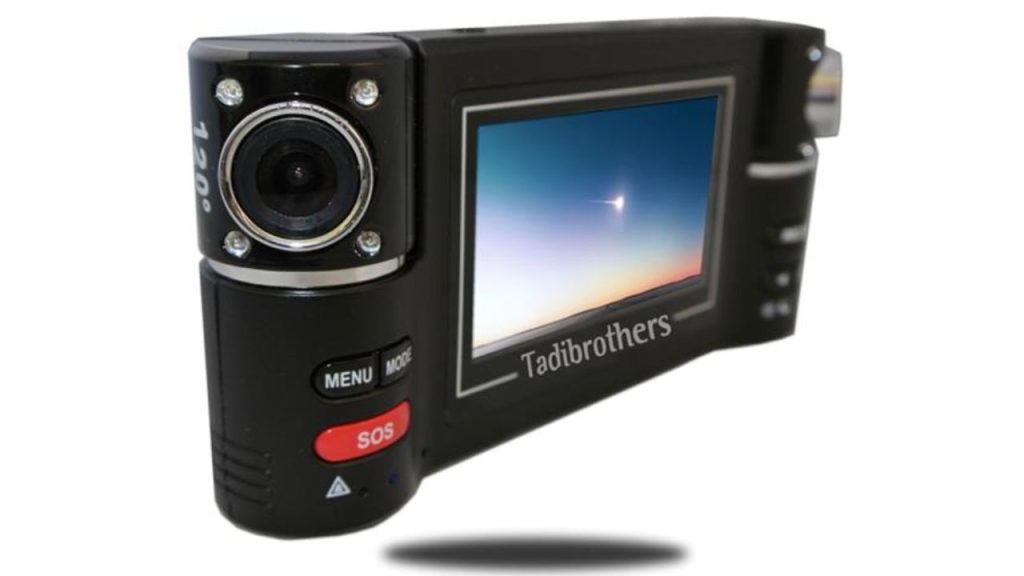
The dash cams from Tadibrothers work with all three. Check the specs page for your specific model before buying an OBD-II adapter.
Step 5: How to Install a Dash Cam Front and Rear
People ask about the dual-camera setup more than almost anything else. The short version: it is the same as a single-camera install, plus one cable runs from the back of the car to the front.
Mount the rear cam center on the rear windshield using the same cleaned-glass approach from Step 2. Keep it off the defroster lines. Check the live view before sticking to it, the angle looks different from behind the car than it does from the driver’s seat.
Then route the cable forward. In most cars, this goes:
- Into the headliner across the top of the rear window
- Along the passenger side of the roof lining toward the front
- Down the B-pillar, the column between the front and rear passenger doors
- Along the door sill trim to the front camera
That sounds like a lot. In reality it takes about 20 minutes and most cars let you do the entire run without removing a single panel. If your headliner is too tight to tuck a cable, the side window pillars work just as well.
Check the rear cam’s live view when the cable is connected. Full lane width, rear windshield frame just visible at the top, at least 15 to 20 feet of road behind the car. Adjust until it looks right.
Step 6: Turn It On, Fix the Settings, Then Drive It
Start the car and let the cam boot. Give it 10 to 15 seconds.
Before driving anywhere, go through these:
Angle check. Is the road centered? Too much sky? Too much hood? Fix it now before the adhesive cures completely.
Date, time, timezone. Wrong timestamps on footage cause genuine problems with insurance claims. Set it correctly before the first drive.
SD card format. New card, used card, format it inside the camera either way. Go into settings, find the format option, run it. Cards that work perfectly elsewhere sometimes drop footage in dash cams when they have not been formatted in the device.
Loop recording. This is the setting that lets the cam overwrite old clips when the card fills. It is usually on by default. Confirm it. If it is off, the cam records until the card is full and then stops.
G-sensor. This is the collision detector. When it fires, the current clip gets locked and protected from loop recording. The default sensitivity is usually fine. Set it too high and every speed bump triggers a save.
Parking mode. If you hardwired it, enable parking mode here. Motion-triggered is the better choice, it only records when the cam detects movement near the car, so it uses far less power than continuous recording.
Resolution. Most people leave it on the default 1080p. If your cam can do higher, use it. Clearer footage means readable license plates from a real distance.
Take a short drive. Pull the footage and watch it. Both cameras are clear, timestamps are correct, no loose cables rattling.
When It Does Not Work After Install
Installation done, but the cam is misbehaving. Here are the actual causes, not the generic “check the manual” advice:
Nothing powers on. Check both ends of the power cable. If it is in the lighter socket, test the socket with your phone charger, some lighter sockets are switched off in the fuse box. For hardwired installs, the ground wire is usually the problem. It needs to touch bare metal, not a painted bolt or a plastic surface.
Screen is black but the cam is running. Something is covering the lens, a plastic shipping film, a privacy sticker, a smudge. If the screen is black during playback rather than live view, the SD card is not being read. Pull it out, reinsert it, format it in the cam.
Cam keeps rebooting every few minutes. SD card. Always. Format it in the camera. If it still reboots on a freshly formatted card, swap the card entirely. Certain card brands are simply incompatible with certain cam models and no amount of formatting fixes that.
Footage is missing or files are corrupt. The card is too slow or is failing. A U3-rated card is non-negotiable for continuous recording. That $8 generic card from a gas station will lose footage. Spend the extra money on a SanDisk High Endurance or equivalent.
Parking mode is on but nothing records while parked. Either the cam is plugged into a lighter socket that cuts power when the ignition is off, parking mode only works with constant power, which only a hardwired setup provides, or parking mode is turned off in the settings menu. Check settings, then check the power source.
The Mistakes That Show Up in Every Forum
- Camera over an airbag deployment zone. Curtain airbags run along the A-pillar and roof edge. Keep the cam body and all cables clear of that area. Your owner’s manual has the exact restricted zones for your car.
- Constant-power fuse tapped by accident. That makes the cam run 24/7 whether the car is on or not. The battery drains slowly, you never figure out why, and eventually the car does not start. ACC fuse only, unless your hardwire kit and cam explicitly use a dual-fuse setup for parking mode.
- SD card not formatted in the camera. This is the most common cause of missing footage and most people do not find out until they actually need the clip.
- Not checking the live view before mounting. Five-degree tilt sounds like nothing. Looks wrong in every recording forever.
- Power cable across the footwell. It is a tripping hazard, a wear point, and it will eventually pull the cam off the windshield by accident.
The dash cam does not matter if the install is sloppy. A cam that falls off the windshield in July, or stops recording because the SD card was never formatted, or loses the parking footage because someone tapped the wrong fuse, that is money and peace of mind gone.
You bought the camera for one specific moment: the moment something happens on the road and you need the footage. Do the install properly once and it will be there.
Find the right camera for your vehicle at TadiBrothers.com, or browse the full dash cam range if you are still deciding between models.
FAQs
1. Do I need a professional?
Not for a plug-in install. That genuinely takes 20 to 30 minutes with a trim tool and a bit of patience. Hardwiring is doable for most people with a circuit tester and a calm afternoon. If the fuse box genuinely intimidates you, most shops do it in 30 minutes and charge somewhere between $50 and $100. That is a reasonable spend for peace of mind.
2. How long does the whole thing take?
Plug-in front only: 20 to 30 minutes. Hardwired front only: 45 to 60 minutes. Front and rear with full cable routing: 60 to 90 minutes if it is your first time. Repeat installs in the same car go much faster because you already know how the trim panels come apart.
3. Does it have to be hardwired?
No. A cigarette lighter plug-in records just fine for everyday driving. You only need hardwiring if you want parking mode, which requires the cam to draw power while the car is off, or if you just hate seeing a cable run to the socket. Both are valid reasons to hardwire. Neither is mandatory.
4. Will it kill my battery?
A hardwired cam in parking mode does draw power while the car is off. Most hardwire kits include a low-voltage cutoff that stops the draw before the battery drops below about 11.8 volts. If yours does not have that feature, or your battery is already on its last legs, stick to the ACC fuse only and skip parking mode.
5. What SD card actually works?
U3 or Class 10, minimum 32GB. SanDisk High Endurance and Samsung PRO Endurance are both designed for the constant write cycles that dash cams demand. Off-brand cards from unknown manufacturers are the single most common reason people’s footage is gone when they actually need it.
6. Can I do this if I have never done it before?
Yes. Knowing how to install a dash cam is genuinely not complicated once you stop treating it like car repair. The plug-in version is basically plug-in-the-charger level easy. Hardwiring requires more care, but the circuit tester removes the guesswork. If you read this guide before you start, you are already better prepared than most people who attempt it cold.