
Mixing up constant and switched power can cause dead batteries, parking-mode problems, and unexpected camera behavior. It is one of the first things to get right when hardwiring a dash cam. Ever opened your fuse panel and wondered which fuse actually does what? This guide clears that up.
Hardwiring sounds scarier than it is. Really, you are just running a thin power cable from your fuse box to your camera so it can keep recording while you are parked, if the camera supports parking mode. Once the “why” makes sense, the “how” stops feeling so intimidating.
Why Hardwire a Dash Cam At All?
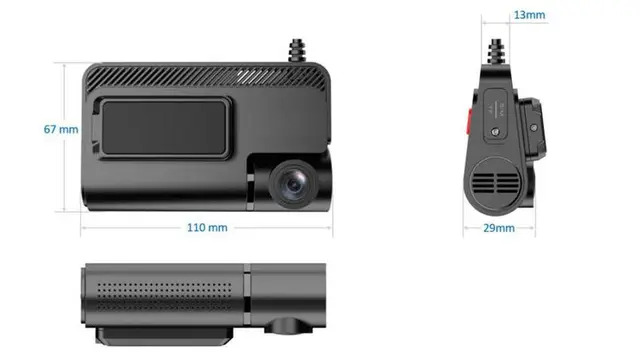
A cigarette lighter plug is fine while you are driving. The second you park and walk away, though, that power dies, and so does your protection. Someone dings your bumper in a parking lot, and you never find out who did it.
Hardwiring closes that gap. It taps directly into your fuse box so your camera stays on in parking mode, catching hit-and-runs, break-ins, even the occasional shopping cart scrape. Pair a solid setup from our dash cams lineup with the right wiring, and your camera can keep a watch while the car is parked, not just while you are driving.
Before You Touch a Wire: The Step Most Guides Skip
Before working around the fuse box, follow the vehicle and hardwire-kit instructions for power isolation. If the instructions call for disconnecting the battery, disconnect the negative terminal before beginning. It only takes a moment, but it’s an important safety step. Skip it, and one wrong touch near the fuse box can trip a fuse or spark against bare metal.
1: Guessing Your Fuse Type Instead of Checking It
Automotive fuse boxes use several fuse types, including ATO/ATC, Mini, Micro, Micro2, and other formats. Check your vehicle’s fuse type before buying a fuse tap. Grab the wrong tap and your kit either won’t seat right, or it will seem fine while barely making contact. Just look up your car’s make, model, and year first.
2: Choosing the Wrong Amperage Fuse
Go too low and your fuse blows the first time the camera pulls extra power. Go too high and you are overloading a circuit that was never built for it. Don’t choose a fuse based on a generic amperage range. Follow the hardwire kit’s instructions and use an appropriate fuse tap for the vehicle’s circuit.
3: Mixing Up Constant and Switched Power Wires
Even careful installers trip on this. Many parking-mode hardwire kits use both constant and switched power connections. The constant connection supplies power while the vehicle is off, while the switched connection tells the kit when the ignition is on. Get them backward and your camera starts acting weird, or worse, quietly drains your battery overnight.
4: Skipping the Multimeter Check
Don’t guess which slot is constant and which is switched. It is kind of like checking the water before you jump in the pool. With the vehicle’s ignition off, use a multimeter to check whether the fuse slot still has power. Then turn the ignition on and test again. A constant circuit should remain powered with the ignition off, while a switched circuit typically becomes powered only when the vehicle is on. This simple check can prevent a common wiring mistake.
5: Ignoring the Low Voltage Cutoff Settings
Do you really want your dash cam draining your battery overnight? Because that is exactly what happens without a proper low voltage cutoff. Many parking-mode hardwire kits offer selectable low-voltage cutoff levels. Use the setting recommended by the kit manufacturer rather than choosing a threshold based on a generic voltage range.
6: Routing Cables Near Airbags or Pinch Points
Tucking wires along the headliner and A-pillar is tedious. But rush it and you will pay for it later. Loose or exposed cables wear through over time, and wires crossing an airbag zone can interfere with deployment in a crash.
A few things that make this part safer and cleaner:
- Route the cable according to the vehicle manufacturer’s trim and airbag guidance. Keep it out of the airbag’s deployment path, and never place or secure wiring in a way that could interfere with deployment.
- Use a plastic trim tool, not a screwdriver, so you don’t crack anything
- Leave a little slack near the camera so vibration doesn’t tug the connector loose
- Tape down exposed sections before the trim goes back on
Mistake 7: Grounding to Paint or Plastic Instead of Bare Metal
Your kit needs a solid ground point, usually an existing bolt near the fuse box. A painted bolt might look secure, but paint adds resistance, and that shows up as flickering power or random reboots. Use a manufacturer-approved grounding point with a clean metal connection. Avoid attaching the ground to painted, plastic, or otherwise unsuitable surfaces unless the vehicle or kit instructions specifically permit it.
Does Your Hardwire Dash Cam Kit Actually Match Your Camera?
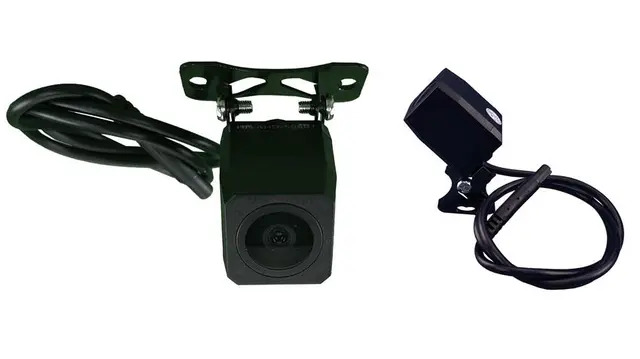
Not every hardwire dash cam kit works with every camera. Connectors vary, and some brands use proprietary plugs that just won’t fit a universal kit, no matter how hard you force it. Check first whether your camera uses USB-C, Mini USB, or something manufacturer specific.If you are replacing or adding a camera at the same time, check the hardwire kit’s connector and power requirements before you buy.
How to Tell If Your Hardwire Dash Cam Install Actually Worked
Start the car and watch for the power light. Turn it off and check that parking mode kicks in after a short delay instead of staying on nonstop. Camera rebooting on its own, flickering, or staying dark? Start by retracing the power, ground, fuse-tap, and connector connections before assuming the camera itself has failed.
DIY or Professional?
Most people can handle this themselves with a free afternoon and a little patience. Got an unusually complex fuse layout, or does touching your car’s electrical system make you nervous? A professional installer can knock it out fast. Either way, double checking your fuse types and kit compatibility, with an expert if you are unsure, is always worth ten extra minutes.
Quick Recap of What to Watch For
- Disconnect the negative battery terminal before starting
- Confirm your exact fuse type before buying a fuse tap
- Test constant versus switched fuses with a multimeter
- Set your low voltage cutoff to protect your battery
- Route cables away from airbags and pinch points
- Ground to bare metal, not paint or plastic
- Match your hardwire dash cam kit to your camera’s connector type
None of this is complicated once you know what to look for. It is the small stuff that separates a dash cam that quietly protects your car for years from one that causes more headaches than it solves.
So next time you are staring at your fuse box wondering where to start, what are you checking first?