
Installing a backup camera in your vehicle can significantly enhance safety by providing a clearer view of your surroundings, especially when reversing.
Whether you’re installing a wireless system, a wired one, or a solar-powered backup camera model, following the proper steps ensures a seamless experience. With the advance in technology, there are high-definition displays available with a range of backup camera systems for cars, trucks, minivans, and more.
Here’s a detailed guide to walk you through the process of backup camera installation, step by step, ensuring a secure and professional setup that works in your favor.
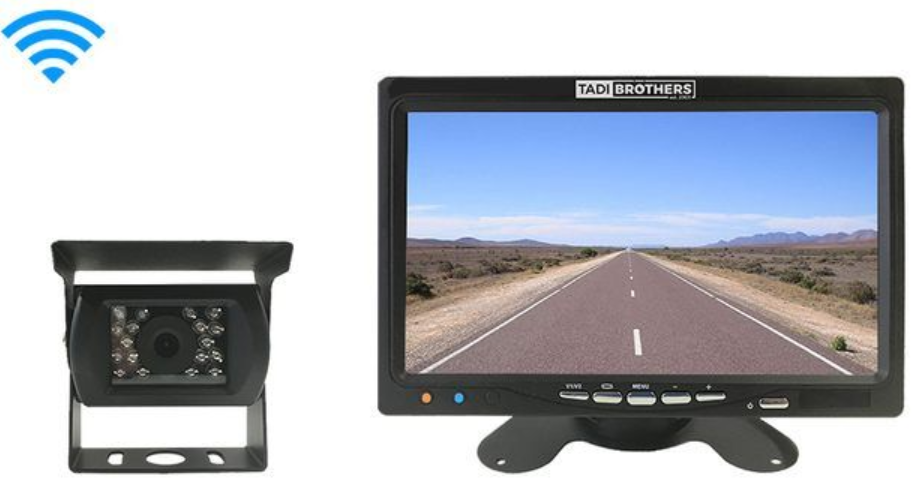
Tadibrothers – Wireless Backup Camera for RV with Rear View Monitor
Why Install a Backup Camera?
It’s important for every driver to understand the significant benefits that come with installing backup cameras. Here are the top benefits:
- Enhanced Safety: A backup camera eliminates blind spots and offers a clear view of what’s behind you, reducing the risk of accidents.
- Increased Convenience: With a camera mounted on the back of your vehicle, parking and reversing become much easier and safer, whether you’re a beginner or a pro driver.
- Higher Vehicle Value: Adding a backup camera can increase the resale value of your vehicle, as more modern cars are equipped with this safety feature by default. Many countries now mandate manufacturers to install backup cameras in cars.
Tools You’ll Need for Installation
Before starting the installation,you’ll need to gather the necessary tools to ensure a smooth process. Here’s a list of the tools:
- Backup camera kit (generally comes with components such as monitor, camera, wiring, and necessary mounts)
- Screwdriver
- Wire stripper
- Drill and drill bits (for creating holes in your vehicle, if needed)
- Electrical tape
- Power adapter or fuse tap
- Mounting brackets (included in most backup camera kits)
- Multimeter (to check power connections).
Step-by-Step Guide to Install a Backup Camera
1. Choose the Ideal Location for the Camera
The first step in backup camera installation is selecting the right location for your backup camera. The ideal location is usually directly above the license plate or underneath the rear bumper.
Ensure that the camera is positioned where it has a clear line of sight and is not obstructed by other objects or dirt.
- Above the license plate: This is the most common location, as it provides a centered view of the area behind your vehicle.
- Under the rear bumper: If you prefer a more discreet installation, you can also mount the camera beneath the bumper. Make sure that it does not interfere with your vehicle’s rear sensors or other components.
2. Mount the Backup Camera
Once you’ve chosen the location for the camera, it’s time to mount it. Most backup cameras come with mounting brackets for easy attachment.
Here’s how to do it:
- Align the camera: Position the camera in the center of the mounting area.
- Mark the drilling spots: Using a pencil or marker, mark where the screws will go.
- Drill the holes: Use a drill bit that’s appropriate for the screws you’re using. Be careful not to drill too deeply as this might damage the vehicle’s interior.
- Secure the camera: Attach the camera to the mounting bracket using screws or bolts provided in your kit.
3. Run the Wiring for the Camera
Now that the camera is securely mounted, it’s time to connect the wires as the next step in your backup camera installation. There are different wiring configurations to consider, depending on the type of system you are installing:
- Wireless Backup Camera: These cameras eliminate the need for complex wiring by transmitting the video signal to the monitor wirelessly. You’ll need to connect the power wire from the camera to your vehicle’s power supply. These add to the aesthetic factor of your vehicle.
- Wired Backup Camera: For wired systems, you’ll need to run a cable from the camera to the monitor inside your vehicle. This usually involves routing the wire along the vehicle’s body, under trim panels, and through the rear trunk area.
- Solar-Powered Backup Camera: For solar-powered systems, the camera is powered by a built-in solar panel, eliminating the need for a direct connection to the vehicle’s power supply. However, you may need to route the wire from the camera to a monitor that powers up with the vehicle.
4. Connect the Power Supply
The next step is connecting the camera to the power source. You can tap into the vehicle’s reverse lights or fuse box for a stable power supply.
Here’s how to do it:
- Using reverse light power: This is the most common and straightforward method. When you put your vehicle in reverse, the reverse light will send power to the camera, activating it automatically.
- Using the fuse box: Another method is to tap into the fuse box, but this requires a fuse tap and careful monitoring of voltage to ensure the camera receives adequate power.
5. Install the Monitor Inside the Vehicle
Now that your camera is mounted and wired up, the next step towards installing a backup camera is to install the monitor. The most common locations for the monitor are:
- Dashboard Mount: Install the monitor on the dashboard where it is easy to view. Some monitors are designed to be popped up when in use and folded back when not needed.
- Rearview Mirror Mount: Another option is to install the monitor on the rearview mirror. Many modern backup cameras offer mirror-style monitors, which display the camera feed in place of the regular mirror reflection.
Secure the monitor in your chosen location using the brackets that are provided in your kit. Route the wiring from the camera to the monitor, ensuring that the wire is hidden and not exposed for safety reasons.
6. Test the Backup Camera
Once everything is connected, it’s time to test the camera. This step must never be skipped. Start your vehicle and shift into reverse to check the monitor. You should see a clear video feed from the camera that displays the area behind your vehicle. If the image is unclear, adjust the camera lens or connections to ensure optimal performance.
Things to check:
- Check for distortion: If the image is blurry or distorted, make sure the camera lens is clean and free of dirt.
- Adjust the angle: Some backup cameras allow for angle adjustments. Make sure the camera is pointed directly at the area behind your vehicle for maximum coverage.
7. Final Adjustments and Securing the Wiring
Once you’ve confirmed that the camera and monitor are working properly, secure any exposed wiring using wire clips, electrical tape, or zip ties to keep the wiring tidy and prevent any loose wires from interfering with vehicle operation.
Ensure that all the wires are safely tucked under the trim and that nothing is obstructing the camera or monitor view.
8. Enjoy Enhanced Safety
Now that your backup camera installation is complete, you can enjoy the added safety and convenience of your new backup camera!
Whether you’re reversing into a tight parking spot or maneuvering in a crowded area, your backup camera will provide the clarity and confidence you need to drive safely.
Maintenance Tips for Your Backup Camera
To keep your backup camera system in top condition, follow these simple maintenance tips:
- Regularly clean the camera lens: Dust, dirt, and debris can obscure the camera’s view, negating its purpose. Therefore, always clean the lens regularly with a soft cloth.
- Check the wiring: Over time, the wiring may become loose or damaged. Ensure to inspect it periodically to check whether everything is secure.
- Test the system: Occasionally test the camera to ensure it’s working as expected
Installing a backup camera is a simple yet effective way to enhance your driving experience and improve safety.
By following these detailed installation steps, you can ensure that your camera is mounted correctly and wired safely. With your new system in place, reversing and parking become much easier, giving you peace of mind on the road.
Tadibrothers offer a wide range of high-quality backup camera systems for all types of vehicles. The reliable accessories make driving and parking as simple as possible.