
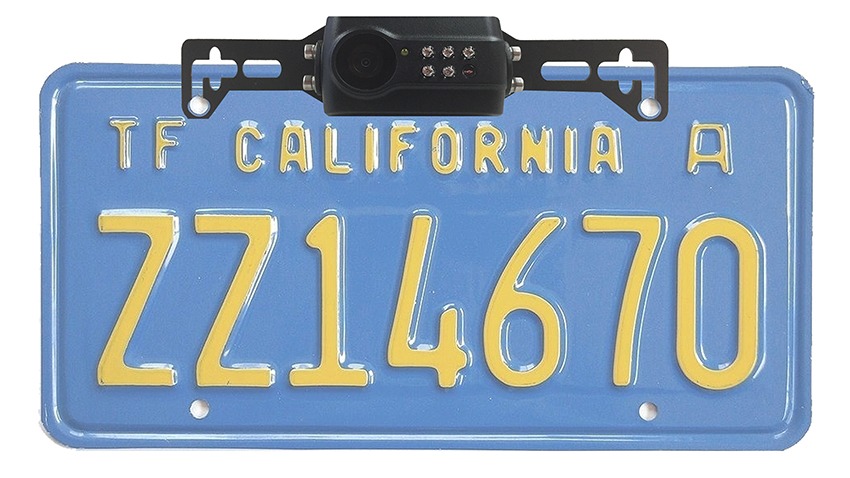
If you’re wondering how to wire up a reverse camera, the simple answer is this. You connect power from the reverse light, ground it properly, and run a video cable to your display so it activates when you shift into reverse.
That sounds easy on paper. But once you open your trunk and see the wires, things can feel confusing fast. We’ve seen people stop halfway, unsure which wire does what. Honestly, that’s normal. Let’s walk through this together so you don’t make costly mistakes.
Why Wiring a Reverse Camera Matters More Than You Think
Before we get into steps, let’s talk about why this matters.
A reverse camera is not just a gadget. It’s a safety tool. It helps you avoid blind spots, protect pedestrians, and park with confidence. But here’s the catch. If the wiring is wrong, even a great camera becomes useless.
You might be thinking, “Can’t I just buy a wireless system and skip this?”
Yes, you can. Options like the 5G Cellular Rear-View System for RV reduce wiring complexity. But even then, understanding wiring basics helps you troubleshoot and install better.
How to Wire Up a Reverse Camera: Understanding the Basics First
Before touching any wire, you need to know what each one does. This avoids guesswork and saves time.
Basic wiring components:
- Power wire (red): Connects to reverse light
- Ground wire (black): Connects to vehicle body
- Video cable (yellow RCA): Sends image to screen
- Trigger wire: Activates display when reversing
Think of it like this. Power wakes the camera. Ground stabilizes it. The video shows the image. Trigger tells the system when to turn on.
Miss one connection, and the system won’t work properly.
Check our YouTube: Master Your AHD Rearview System: Trigger Wires & Blinker Setup
Ultimate Guide to Powering Your Backup Camera System from One Source Tutorial
Expert Tip #1: Always Use Reverse Light Power (Not Battery)
This is the most common mistake beginners make.
You might think connecting directly to the battery is easier. It’s not. The camera will stay on all the time, which drains power and shortens lifespan.
Instead, connect the power wire to your reverse light.
Why?
Because it activates only when you shift into reverse. Clean. Automatic. No extra switches needed.
When using systems from TadiBrothers, this setup works smoothly because their designs are built for real vehicle wiring conditions.
Expert Tip #2: Grounding Is Not Optional, It’s Critical
A weak ground connection causes flickering, no signal, or random shutdowns.
You might install everything correctly and still face issues. Most of the time, it’s poor grounding.
Good grounding practices:
- Use a clean metal surface
- Avoid painted areas
- Tighten the connection firmly
It sounds small, but this step decides whether your camera works consistently or not.
Expert Tip #3: Route Cables Smartly to Avoid Damage
Now comes the part people rush. Cable routing.
You don’t want wires hanging loose or getting pinched by doors. Over time, that leads to signal loss or complete failure.
Take your time here.
Run the video cable through safe paths inside the car. Follow existing wiring routes if possible. This keeps things neat and protected.
If you’re using advanced setups like the 5G Cellular Rear-View System for RVs, cable routing becomes even more important due to longer distances in larger vehicles.
Expert Tip #4: Test Before Final Installation
Here’s a mistake many people regret.
They install everything fully, close panels, and then test. If something doesn’t work, they have to open everything again.
Instead, test early.
Quick test checklist:
- Turn ignition on
- Shift to reverse
- Check if display activates
- Confirm video clarity
This simple step can save hours of rework.
Expert Tip #5: Know When to Choose Wireless Instead
Let’s be practical. Wiring is not for everyone.
If you’re not comfortable with electrical work, wireless systems are a great option. The 300ft Digital Wireless License Plate Backup Camera is a good example. It reduces wiring effort while still giving reliable performance.
But even wireless systems need power. So basic wiring knowledge still helps.
Step-by-Step: How to Wire Up a Reverse Camera Properly
Now that you understand the logic, here’s a clean step-by-step process.
1. Mount the camera
Fix it near the license plate or rear bumper. Make sure the angle is correct.
2. Connect power to reverse light
Tap into the reverse light wire for power supply.
3. Attach ground wire
Secure it to a clean metal part of the car.
4. Run video cable to front
Route the cable safely through the car interior.
5. Connect to display
Plug the video cable into your monitor or mirror display.
6. Connect trigger wire
Link it so the screen turns on in reverse.
7. Test the system
Check everything before closing panels.
This is the simplest way to understand how to wire up a reverse camera without confusion.
Common Problems You Might Face (And Quick Fixes)
Even with proper steps, issues can happen. Let’s tackle them early.
1. No signal on screen
- Check power connection
- Verify ground
- Ensure video cable is secure
2. Flickering image
- Poor grounding
- Loose wiring
3. Camera not turning on
- Reverse light connection issue
- Faulty trigger wire
These problems are common. Don’t panic. Most are easy to fix once you know where to look.
Real-Life Decision Moments You Should Think About
Let’s pause for a second.
Ask yourself:
- “Do I feel confident handling car wiring?”
- “Do I want a clean DIY setup or quick wireless install?”
- “Will I use this daily or occasionally?”
These questions matter more than the installation itself.
Because the right choice depends on your comfort level, not just the product.
Is It Worth Doing It Yourself?
For many people, yes.
Wiring a reverse camera is not overly complex. It just needs patience and attention to detail. Once done, the satisfaction is real.
But if you’re unsure, there’s no harm in getting help. Even professionals often use systems from TadiBrothers because they are reliable and easy to integrate.
Key Takeaways You Should Remember
- Wiring is simple when you understand the basics
- Reverse light power is the best option
- Grounding decides system stability
- Testing early saves time and effort
- Wireless systems are a practical alternative
Once you finish the setup and shift into reverse, that first clear view behind your car feels different. You stop guessing. You start seeing.
And then you realize something simple. If this small upgrade can make driving safer every day, why didn’t you do it sooner?
Upgrade Your Reverse Camera Setup Today
Stop guessing while reversing. Choose a reliable backup camera system from TadiBrothers and drive with confidence every day.
FAQs: How to Wire Up a Reverse Camera (People Also Ask)
1. Can I wire a reverse camera without professional help?
Yes, most people can do it themselves with basic tools. The process is simple if you follow steps carefully and understand the wiring basics.
2. Where should I connect the power wire for a reverse camera?
The best option is the reverse light wire. This ensures the camera turns on automatically when you shift into reverse.
3. What happens if I connect the reverse camera directly to the battery?
The camera will stay on all the time, which can drain your battery and reduce the lifespan of the device.
4. Why is my reverse camera showing no signal?
This usually happens due to loose wiring, poor grounding, or incorrect power connection. Double-check each connection point.
5. Is a wireless reverse camera better than a wired one?
Wireless systems are easier to install and reduce cable work. Wired systems are often more stable. The right choice depends on your comfort and usage needs.