
A faulty backup camera can make parking and reversing risky. For Cadillac SRX owners, replacing it quickly is essential. In this guide, we explain how to replace the Cadillac SRX backup camera step by step. The process is simple if you follow the instructions carefully and use the right tools.
Furthermore, you can also check out the latest replacement backup camera system for your vehicle. The guide will help you understand how you can replace the Cadillac SRX backup camera step-by-step.
Why You May Need to Replace the Backup Camera
The Cadillac SRX backup camera may stop working due to several reasons. The most common ones include moisture damage, wiring wear, or a failing lens sensor. You might notice a blurry image, flickering screen, or no video at all. Replacing the camera restores clear visibility and helps you park safely again.
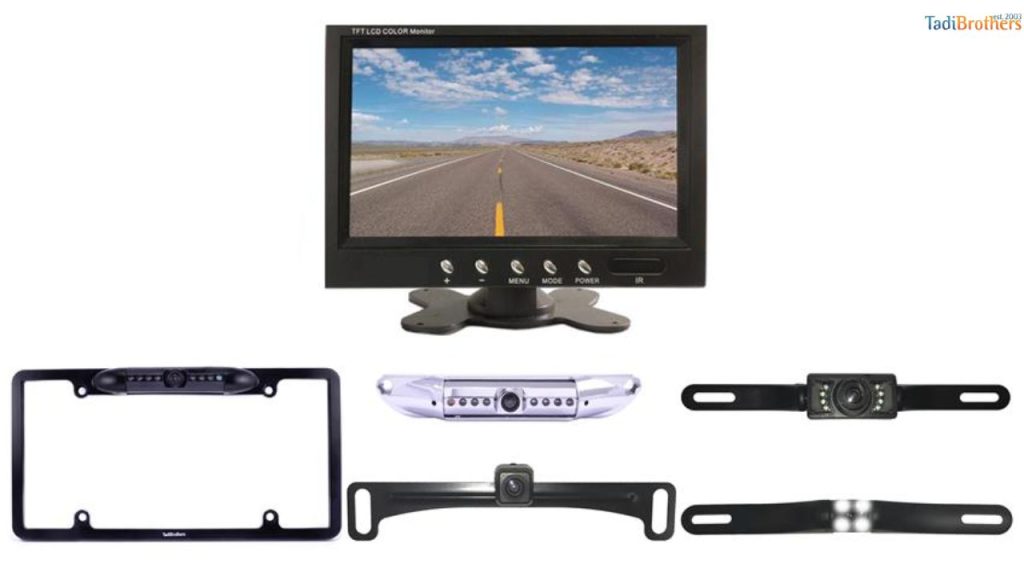
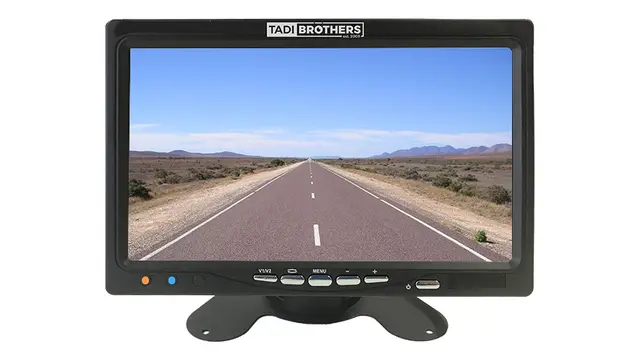
Check out: License Plate Backup Camera with Rear View Monitor
Tools You’ll Need
Before you start, prepare the right tools. This makes the replacement easier and faster.
- Phillips and flathead screwdrivers
- Trim removal tool
- Socket wrench set
- Electrical tape
- Replacement backup camera
- Clean cloth
Keep all tools nearby before you remove any parts from the vehicle.
Step 1: Disconnect the Battery
You should always keep safety first. Disconnect the negative terminal of your car battery before working on electrical parts. This way you can prevent short circuits or electric shock. Wait a few minutes to let any residual current drain completely.
Step 2: Remove the Interior Liftgate Panel
Then you need to open the rear liftgate and look at the inner panel. Use a trim removal tool to gently pry off the clips holding it. Be careful not to damage the panel with metal tools. Once the clips are released, remove the entire inner trim piece. Place it safely aside to prevent scratches.
Step 3: Locate the Backup Camera Module
Look out for the backup camera mounted near the license plate area. You’ll see it inside the liftgate frame. Carefully follow the camera’s wiring harness. Then you need to disconnect the electrical connector attached. Lastly, do not pull the wire too hard; you might damage the connector in the process.
Step 4: Remove the Old Camera
Once the connector is unplugged, remove the screws holding the camera. Use the correct screwdriver or socket size. You can pull the camera out from the housing. If it feels stuck, you need to check for clips that are hidden or for extra screws. Do not use too much force, as it can damage the mounting bracket.
Step 5: Install the New Backup Camera
Take your new Cadillac SRX backup camera and align it with the original mounting points. Secure it with screws and ensure it sits firmly in place. Reconnect the electrical plug until you hear a click. Make sure the wiring is tucked neatly and doesn’t interfere with the liftgate mechanism.
Step 6: Test the Camera
Before reattaching the interior panel, test the camera. Reconnect the car battery and shift into reverse with the ignition on. The rearview display should show a clear image.
Check for brightness, focus, and proper alignment. If the image looks off, adjust the camera angle slightly until the view is correct.
Step 7: Reinstall the Liftgate Panel
Once the camera works properly, reinstall the interior panel. Align all clips carefully and press them back into position. Tighten any screws or bolts removed earlier. Make sure the trim sits flush without gaps. Wipe the area clean with a soft cloth to remove fingerprints or dust.
Tips for a Successful Installation
- Always buy a camera compatible with your Cadillac SRX model year.
- Avoid cheap replicas that may fail quickly.
- Keep the lens clean for better visibility.
- Use dielectric grease on connectors to prevent moisture buildup.
- If you’re unsure, seek help from a certified mechanic.
Recommendation: Revolutionary Backup Camera & Sensor System | Easy Install & Night Vision
Common Signs of a Bad Backup Camera
If you’re still not sure your camera is faulty, watch for these signs:
- Distorted or flickering image on the display.
- Black screen when reversing.
- Delayed video feed after shifting to reverse.
- Unusual buzzing or static sounds.
These are clear signs the Cadillac SRX backup camera needs replacement.
Final Thoughts
You can replace the Cadillac SRX backup camera system easily. All you need to do is to follow the given steps with patience and the right tools. You can do it in about an hour.
A working backup camera makes reversing safer and gives peace of mind every time you drive. Always handle electrical parts with care and double-check all connections before completing the job.